These resources will be removed by end of Summer Term 2025.
Switch to our new teaching resources now - designed by teachers and leading subject experts, and tested in classrooms.
Lesson details
Key learning points
- In this lesson, we will alter the dimensions of 3D objects and recognise how to lift these objects to create 3D models. We will then enhance our 3D models by changing the colour of our 3D objects.
Licence
This content is made available by Oak National Academy Limited and its partners and licensed under Oak’s terms & conditions (Collection 1), except where otherwise stated.
Loading...
3 Questions
Q1.
Why would you represent 3D objects on a computer?
To make sure the designs are balanced (e.g. won't fall over)
Q2.
Why would you use this feature?

To move the objects to a different part of the screen
To reset the view so all objects can be seen from front and centre
To zoom in closer to the object
Q3.
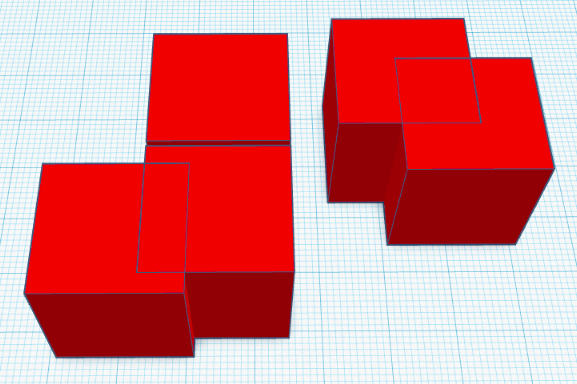
How many objects have been added to this project?

3
6
8
3 Questions
Q1.
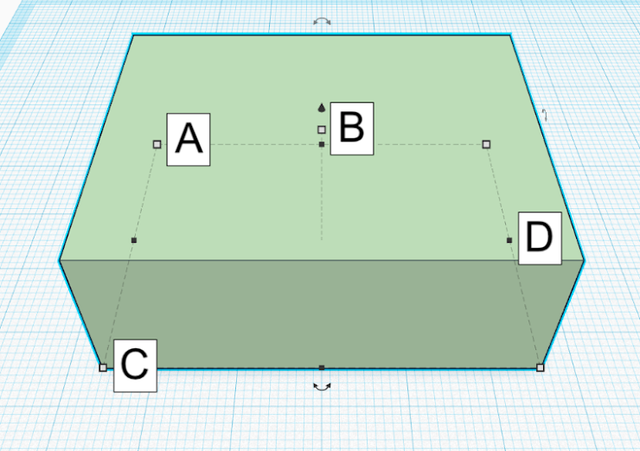
Which handle would alter the height of the 3D object?

A
C
D
Q2.
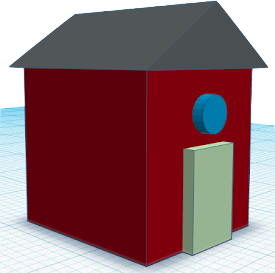
Which 3D shapes have been included in this model?

Sphere
Q3.
Why might you change the colour of your 3D objects?
To change the viewing angle of your 3D model
To increase the width of the 3D objects