Myths about teaching can hold you back
- Year 2
- Year 2
The third join: on, om, ow, oi with no lead in
I can correctly form the third join.
These resources were made for remote use during the pandemic, not classroom teaching.
Switch to our new teaching resources now - designed by teachers and leading subject experts, and tested in classrooms.
Lesson details
Key learning points
- The letters are formed by following the right starting point and direction.
- The third join starts at the x-height line and dips below the x-height line and back up to join the next letter.
- The letter strings are all x-height letters.
- When using the third join you leave enough space to ensure the letters are not touching without leaving a big gap.
- You don't lift your pencil until the letter string is complete. The dot for the i is added at the end.
Keywords
Join - how things connect
Lead out - the stroke or line that guides us to smoothly finish a letter
Starting point - the point the formation of a letter begins on the tramlines
Dips below - dropping under something
X-height line - this is the line that x-height letters reach
Common misconception
Children will often want to take their pencil off to form the join or add the dot to the i midway through the letter string.
Emphasise the flowing motion of cursive writing. The letters need to be joined together so the pencil needs to stay on the page. Make a point of exaggerating that the dot is added at the end of the letter i.
To help you plan your year 2 English lesson on: The third join: on, om, ow, oi with no lead in, download all teaching resources for free and adapt to suit your pupils' needs...
To help you plan your year 2 English lesson on: The third join: on, om, ow, oi with no lead in, download all teaching resources for free and adapt to suit your pupils' needs.
The starter quiz will activate and check your pupils' prior knowledge, with versions available both with and without answers in PDF format.
We use learning cycles to break down learning into key concepts or ideas linked to the learning outcome. Each learning cycle features explanations with checks for understanding and practice tasks with feedback. All of this is found in our slide decks, ready for you to download and edit. The practice tasks are also available as printable worksheets and some lessons have additional materials with extra material you might need for teaching the lesson.
The assessment exit quiz will test your pupils' understanding of the key learning points.
Our video is a tool for planning, showing how other teachers might teach the lesson, offering helpful tips, modelled explanations and inspiration for your own delivery in the classroom. Plus, you can set it as homework or revision for pupils and keep their learning on track by sharing an online pupil version of this lesson.
Explore more key stage 1 English lessons from the The four joins and break letters, with no lead-ins unit, dive into the full primary English curriculum, or learn more about lesson planning.

Content guidance
- Risk assessment required - physical activity
Supervision
Adult supervision required
Licence
Prior knowledge starter quiz
6 Questions
Q1.True or false. Cursive handwriting is also known as joined up handwriting.
Q2.Select the correct formation of the second join ch.
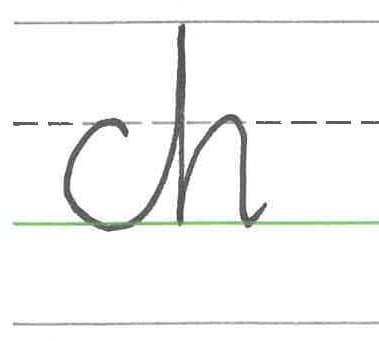
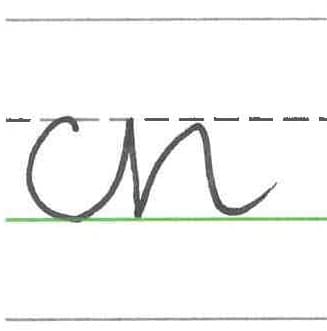
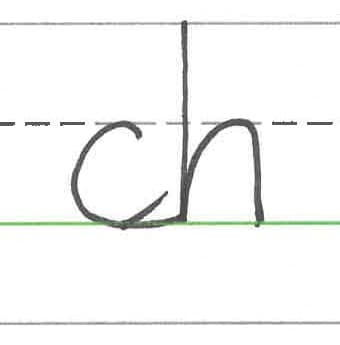
Q3.Select the correct formation of the second join ck.
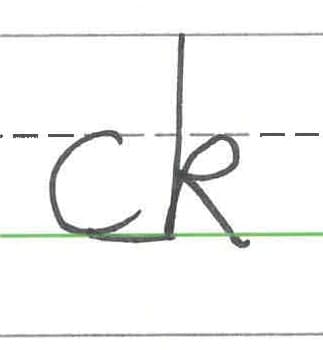
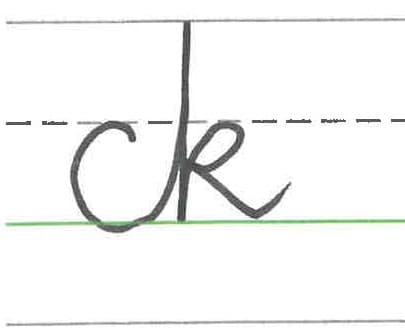
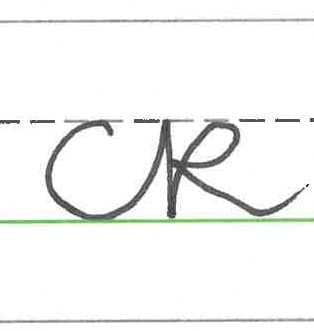
Q4.Select the correct formation of the second join lk.
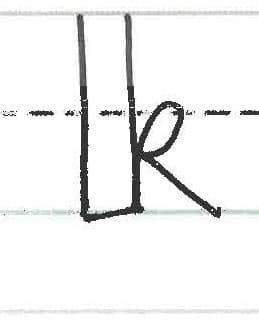
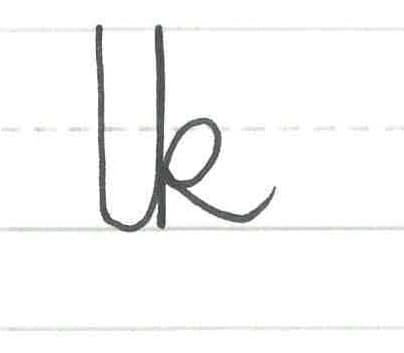
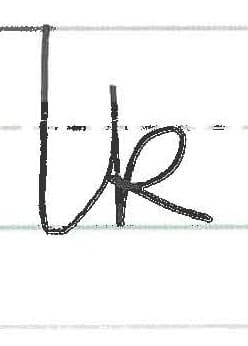
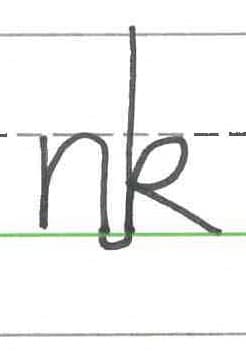
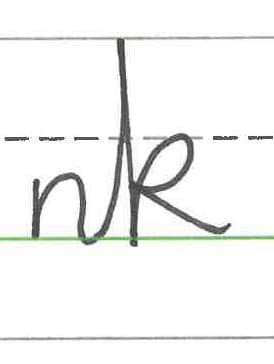
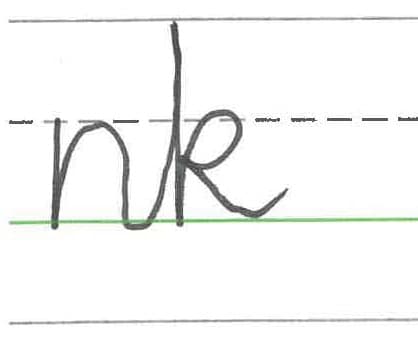
Q5.Select the correct formation of the second join nk.
